


How to Get Better at Bouldering with Smarter Training
You've warmed up, pulled onto a familiar grade, and still can't finish the same move that stopped you last week. The usual response is to try harder, add more attempts, and leave with tired fingers but no clearer idea of what failed. That cycle feels productive because the session is hard, yet difficulty alone doesn't guarantee useful practice.
Getting better at bouldering requires a system. You need efficient movement, enough power to control difficult positions, repeated exposure to unfamiliar problems, and a training load your fingers, elbows, and shoulders can tolerate. The strongest climbers aren't only producing harder efforts. They're allocating practice intelligently so they can keep showing up.
Why Progress in Bouldering Feels Stuck and How to Break Through
A climber can spend several sessions projecting steep problems, improve pulling strength, and still fail because the feet cut, the hips drift from the wall, and each sequence drains too much energy. I have seen this plateau in commercial gyms and home setups. The issue is often uneven development. Strength has improved, but movement skills have not kept pace, so that strength cannot reach the holds efficiently.
The failed move usually hides the demand. A boulder may test finger force, yet the deciding factor could be precise foot pressure, a higher hip, a controlled deadpoint, or the willingness to commit before the position feels fully secure. Diagnose the demand before adding more attempts or more training.
The three levers behind harder climbing
Think of progress as the interaction of three qualities:
- Movement efficiency: Accurate feet, useful hip positions, and controlled tension reduce wasted effort.
- Limit power: Fast force production helps with small holds, long reaches, and steep movement.
- Problem-solving exposure: Experience across styles improves sequence reading, option testing, and adaptation after failure.
If one quality lags, the others only compensate temporarily. More strength will not repair poor sequencing, and additional mileage will not replace targeted power work when a move exceeds your current force capacity. Allocate time across all three, then use supplemental grip or pulling work only where climbing practice cannot provide enough stimulus.
Bouldering's competitive history supports this long-term approach. The sport reached the World Cup stage in the early 2000s and entered the Olympic program at the Tokyo Games in 2021. Nalle Hukkataival climbed the first confirmed 9A boulder, Burden of Dreams, in 2016, and the first reported 9A+ was achieved in 2025. These milestones, documented in the history of bouldering and its competitive development, reflect progress in movement, power, and problem-solving rather than raw strength alone.
Replace random effort with deliberate allocation
A productive week can combine moderate climbing for skill, hard attempts for power, structured problems that expose unfamiliar positions, and carefully selected off-the-wall work. The trade-off matters. More finger conditioning may build capacity, but adding it after a high-intensity session can reduce grip reliability and compromise the next climbing day.
Injury management belongs inside the performance plan. A large 2024 analysis reported 1.47 injuries per 1,000 hours of indoor bouldering, compared with 0.29 injuries per 1,000 hours for rope climbing, and found injuries increased significantly as bouldering time increased, with χ² = 24.31 and p < 0.001 (indoor climbing injury analysis). Use that finding practically: limit reckless attempts when coordination deteriorates, and leave enough recovery for fingers, elbows, and shoulders.
Practical rule: The best session improves a specific quality without costing you the next several sessions.
Movement and Technique Drills That Make Hard Moves Feel Easier
Technique improves fastest when you give each attempt a clear constraint. Don't just climb a problem repeatedly. Decide whether you're training foot accuracy, hip positioning, body tension, or sequencing, then judge the attempt by that target.
Start with quiet feet
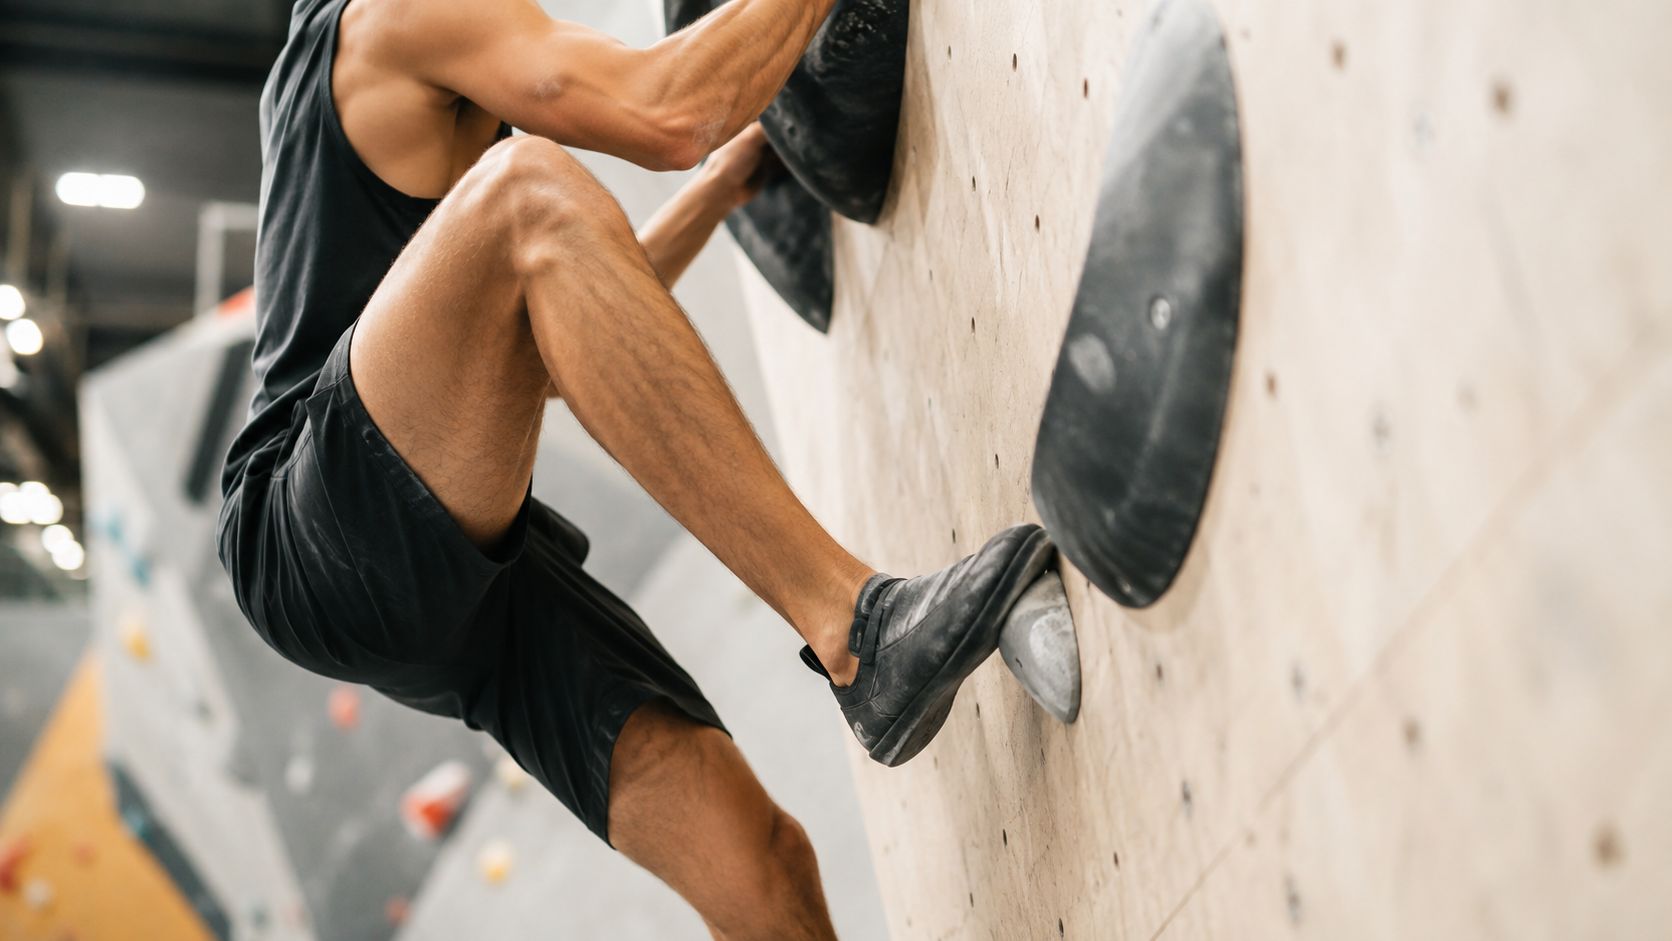
Choose an easy circuit and climb without allowing your shoes to scrape or tap the wall. Place the toe once, load it gradually, and keep your eyes on the next hold only after your foot is stable. The drill exposes rushed movement and teaches you to transfer weight through the feet instead of pulling your body upward with the arms.
Use the same exercise on a slightly steeper wall after warming up. On steep terrain, keep the hips close enough to maintain tension, but don't force an exaggerated body position that prevents your legs from driving.
Add the hover drill
Before stepping onto a foothold, hover your foot above it for a moment. Then place it and continue. This trains visual precision and makes you recognize whether the hold is best used with the toe, inside edge, or outside edge.
For open-hand and pinch positions, avoid squeezing harder than necessary. A relaxed hand paired with accurate feet often preserves more capacity for the crux than an aggressive grip applied from the start.
Separate slab from steep practice
On slab, prioritize balance, straight arms, and deliberate weight shifts. Try climbing a problem while keeping your hips above your feet, then repeat it while pausing before every hand movement. The pause reveals whether you're stable or rushing through an unstable position.
On steep terrain, focus on tension through the trunk and active feet. Practice keeping one foot engaged while reaching, then experiment with flagging to counterbalance the reach. The flagging technique guide for rock climbing is useful when a problem forces your center of mass away from the supporting foothold.
Watch the following movement example after you've tried the drills. Look for the relationship between the climber's hips, feet, and reaching hand rather than copying the sequence mechanically.
Use video and downclimbing as feedback
Record one attempt from the side and one from the front. Review only three questions:
- Did your hips move toward the next hold before your hand reached?
- Did your foot stay engaged during the reach?
- Did you pause in a position that improved control?
Downclimbing adds another layer. After topping out an easy problem, reverse the sequence with quiet feet and controlled breathing. It teaches you to maintain tension when fatigue arrives and improves your ability to recognize usable positions instead of treating every move as a desperate pull.
For limit bouldering, give each attempt a purpose. Try one sequence with a hip rotation, one with a different foothold, and one with a changed order of movement. Stop repeating the same failed solution once the attempt no longer produces information.
Building Bouldering Strength Power and Finger Resilience
Strength work should solve a climbing problem. If a climber loses a lock-off, add pulling capacity. If fingers fail on a controlled hold, use progressive finger loading. If the body swings away during a reach, train trunk and shoulder control. More exercises aren't automatically better, especially when they reduce the quality of your climbing sessions.
Build the base before chasing intensity
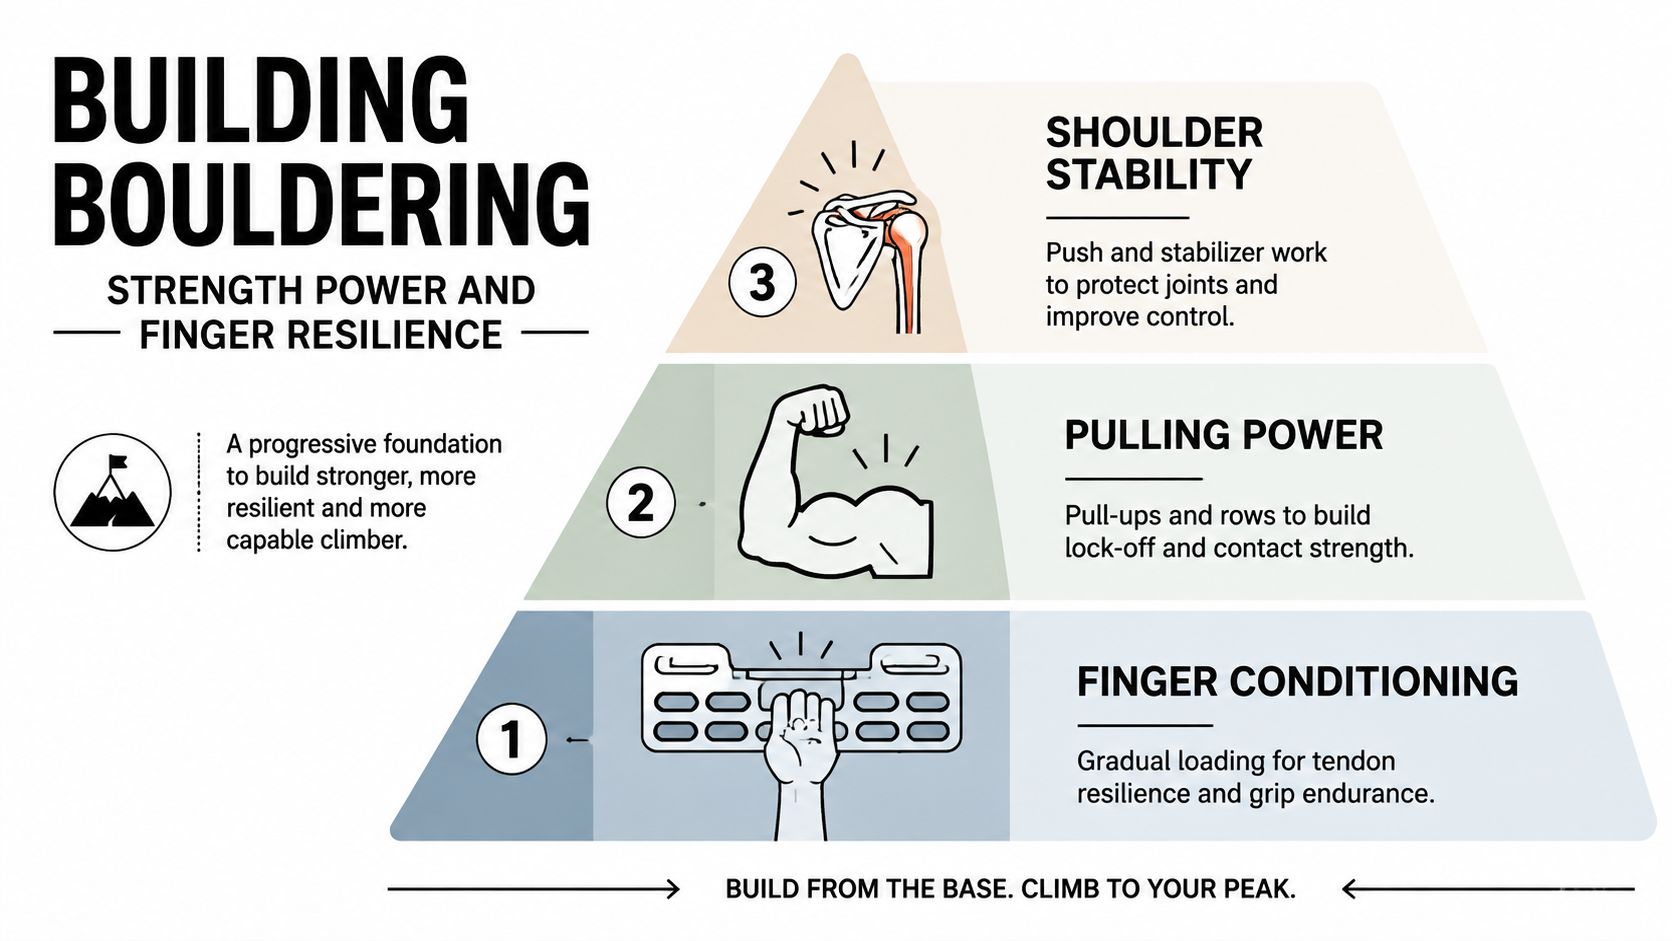
Finger conditioning needs gradual loading and consistent technique. Use a hangboard only when you can keep the shoulders organized, the grip controlled, and the training load separate from an already exhausting climbing session. Stop when finger position deteriorates or discomfort changes your movement.
Pulling power can come from weighted pull-ups, controlled lock-offs, and rows. Choose variations that reflect the demands you're missing. A climber who can pull strongly but cannot hold a position near full extension may need lock-off control rather than more repetitions of easy pull-ups.
Shoulder stability supports both performance and durability. Include pushing work and controlled stabilizer exercises so the shoulder can manage tension in different directions. Keep the movement deliberate. The point isn't to create fatigue for its own sake.
For a practical collection of climbing-specific grip options, use this guide to improving grip strength for climbing to select exercises that match your current limitation.
Periodize campus-board work instead of adding it casually
Campus-board training is powerful, but it's also easy to misuse. A study of advanced-to-elite climbers found that a five-week campus-board block improved bouldering performance more than regular climbing training, with ES = 2.37 and p = 0.006. The block also improved strength in the rung condition, maximal reach, and moves to failure, with effect sizes of 0.87, 1.66, and 1.43, respectively (campus-board training study).
The practical distinction is the adaptation target. Split sessions across two days when the main goal is bouldering performance, or across four days when the goal is rate of force development, as described in the study. Don't bolt campus work onto every hard climbing day. Place it in a defined block, reduce competing high-intensity finger work, and protect recovery between exposures.
Load-management cue: If campus training makes your next climbing session slower, less accurate, or painful, it's no longer supporting performance.
Off-the-wall work must complement climbing. A 2024 intervention found that climbing training improved performance, while the most useful gains came from combining on-wall and off-wall work rather than replacing climbing with strength training (combined climbing and strength evidence). Use strength to raise the ceiling, then use problems to learn how to apply it.
How to Structure Sessions Track Progress and Recover Smarter
Walk into the gym with one priority. A session can develop movement quality, test limit power, build controlled volume, or prepare you for competition. Pushing every quality at maximum intensity turns the session into fatigue with little useful feedback.
Use a repeatable session order
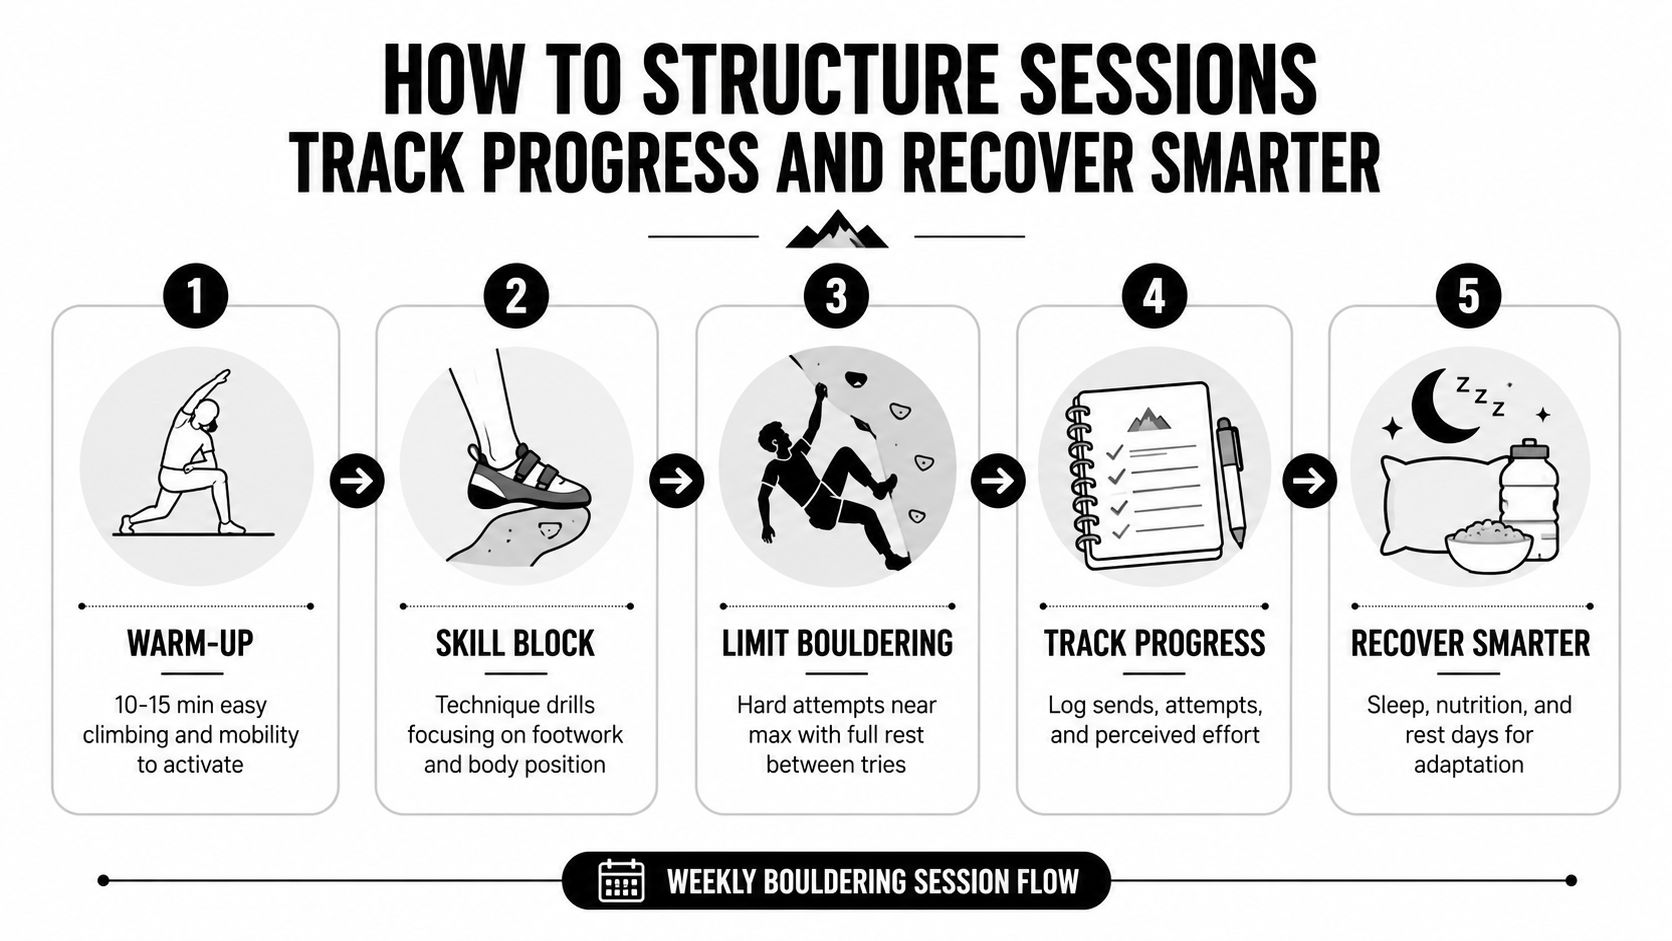
Begin with easy climbing and mobility. Use large holds, simple foot placements, and gradually steeper terrain until your fingers, shoulders, and hips are ready to produce force. Keep this preparation deliberate. An extended warm-up that becomes random volume can reduce the quality of your hard attempts.
Follow with a focused skill block. Select two or three easy-to-moderate problems and apply one constraint, such as silent feet, a pause before each reach, or a defined hip position. Structured repetition gives you clearer feedback than repeatedly pulling on a project without changing the task.
Place limit bouldering after technique work. Choose a small number of hard problems, rest fully between serious attempts, and record what changed:
- Problem and style: Note the grade, angle, hold type, and movement demand.
- Attempt quality: Identify whether the failure came from strength, sequence, foot placement, or commitment.
- Perceived effort: Use terms such as controlled, strenuous, or maximal rather than implying false precision.
- Next action: Write the one adjustment to test on your next visit.
Allocate time according to the current weakness
Technique limitations call for more varied, manageable climbing and fewer repeated maximal pulls. Power limitations call for a shorter skill block, with your freshest efforts reserved for demanding movement. Inconsistency calls for lower intensity and a weekly rhythm you can repeat.
App-controlled routes can make this plan easier to repeat. In the same 2024 sample cited earlier, 77.1% of participants used app-controlled routes, making them the most common training method in that sample (indoor bouldering training-method study). Use the app to revisit movement styles, track attempts, and create consistent exposure. Keep your own notes as well, because a route score cannot explain a mistimed hip shift or unreliable foothold.
Recovery data can add context when you compare sleep, readiness, and training trends. A carefully selected list of latest AI-powered recovery tools may support your log, but no tool should overrule pain, declining movement quality, or accumulated fatigue.
For two to four weekly climbing sessions, rotate the emphasis. Make one session technique and volume focused, another limit-power focused, and another a mixed climbing day with supplemental strength. Keep off-wall work proportionate to your grip condition and the quality of your next climbing session. This training-to-climb guide can help arrange strength work around available climbing days.
Grip Confidence Mental Strategies and Staying Healthy for the Long Term
Grip reliability changes with the hand, the hold, and the environment. Chalk isn't a universal friction upgrade. A 2024 study found that its effect depends on moisture and rock texture, with dry fingertips generally receiving a greater static-friction benefit than simulated sweaty conditions. The same paper reported the most positive effect on light limestone in dry conditions and the most negative effect on dark limestone in wet conditions (chalk and friction study).
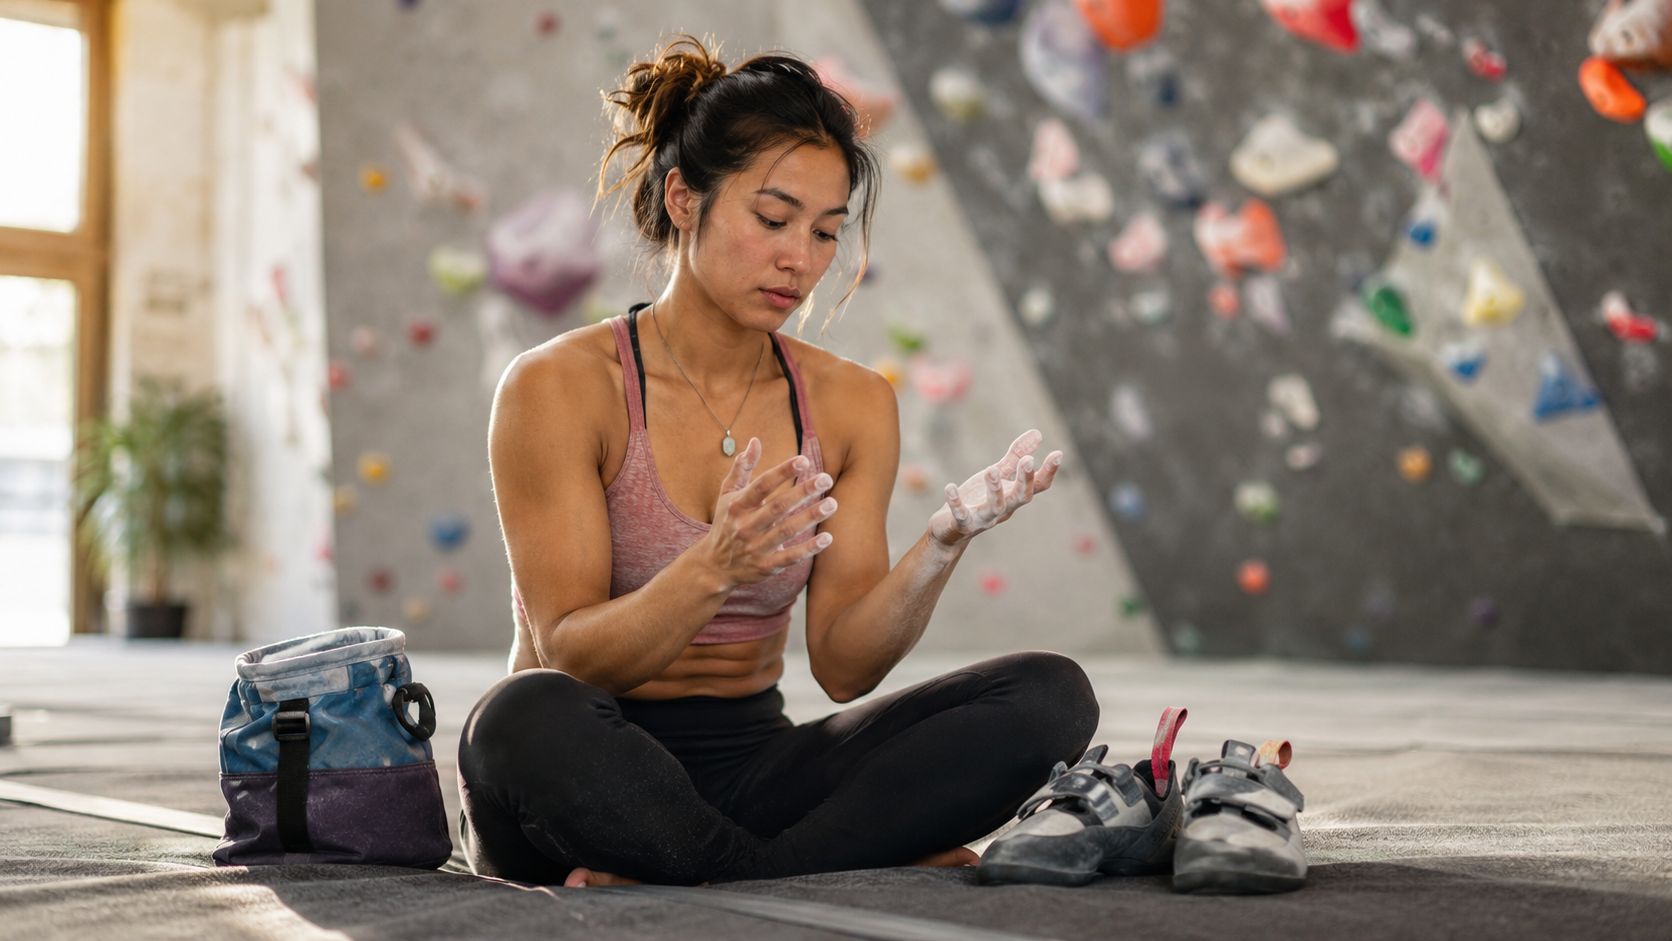
That matters indoors too. A glossy hold, a humid room, and sweaty skin can require a different preparation strategy from a dry textured hold. Apply a thin, even layer, brush excess residue from your fingertips, and reassess instead of repeatedly adding chalk until the hand feels coated.
Use grip aids within the rules
A 2018 study on repeated open-hand and pinch grip tasks found that magnesium carbonate can improve performance in those conditions and recommended chalk for open-handed and pinch-grip work (magnesium carbonate grip study). That supports a clean approach for slopers, pinches, and open-hand positions, where excessive squeezing can waste energy.
EVMT Liquid Chalk can be used as a gym-approved primer beneath loose chalk. It dries quickly and is designed to reduce sweat-related slipping without creating a dust cloud. Use only enough to cover the working surface, let it dry fully, and follow the facility's cleaning expectations.
Competition boundaries are clear. IFSC rules allow a chalk bag and commercially available dry or liquid climbing chalk, while prohibiting substances or equipment that modify holds or the climbing surface. The rules also state that naturally transferred chalk residue isn't a violation (IFSC competition rules). USA Climbing's 2025–2026 rulebook likewise permits dry and liquid chalk, while restricting liquids in the Field of Play unless they're for consumption or specifically permitted, such as liquid chalk (USA Climbing rulebook).
Train commitment without gambling with your body
Break a frightening move into a smaller decision. Identify the foothold, rehearse the arm path, breathe out before initiating, and commit to the movement rather than freezing halfway through. Practice falling in a controlled area so your body learns the landing pattern, then reserve uncertain jumps for problems with appropriate mats and supervision.
Injury resilience comes from managing exposure. The indoor study cited earlier found upper-limb injuries concentrated around the areas climbers use most, including fingers, wrists, elbows, and shoulders. If those areas become painful, change the session rather than bargaining with the symptom. Technique drills, easier climbing, and recovery are still training decisions.
Your Next Steps to Climb Harder and Keep Improving
Your next improvement target should come from your log, not from the loudest problem in the gym. If you repeatedly miss because your feet cut, choose technique. If you hold the position but can't move quickly enough, choose power. If you climb well only when fresh, choose consistency and recovery.
Use a simple four-week progression:
- Week one: Establish your baseline with moderate climbing, a short skill block, and conservative supplemental work.
- Week two: Add structured exposure to the movement style that limits you, while keeping hard attempts purposeful.
- Week three: Push your chosen quality, whether that means harder moves, more precise sequencing, or more controlled volume.
- Week four: Reduce unnecessary fatigue, review your notes, and test a small number of problems that match your original weakness.
On your next three gym visits, complete one technique-focused session, one limit-focused session, and one mixed session. Record sends, attempts, perceived effort, and any finger, elbow, or shoulder warning signs. Improvement may show up first as quieter feet, fewer wasted attempts, faster recovery between problems, or better decisions after a fall.
Long-term bouldering rewards athletes who build a broad movement library and protect their ability to practice. The same principle applies when planning outdoor objectives. If you're exploring future climbing travel, researching the best Paklenica canyons can help you think beyond grades and consider terrain, movement variety, and the demands of a full day outside.
Commit to the process for the next month. Train the weakness you can identify, track what happens, and leave enough recovery for the next quality session.
Evermost LLC offers practical grip solutions for climbers who need more reliable hand preparation during indoor training, home sessions, or competition-focused practice. Visit Evermost LLC to explore EVMT Liquid Chalk and choose a format that fits your climbing routine.